
How can you fix wall painting mistakes?
- Uneven coverage
- Paint bubbles
- Paint splatters
- Roller marks
One of the benefits of being your own home renovator is that you have near-total control over what your projects will look like. With the freedom of customization, you will be able to experiment on the most aesthetically pleasing paint mixes. You hold control of the brush and what kinds of patterns that you want to make.
However, being a loyal DIY-er has its own downsides as well. You run the risk of not knowing how to fix wall painting mistakes that you might encounter while completely engrossed in your activity. This simple guide below aims to provide you with the most frequently occurring wall painting mistakes which you can easily correct. Read on!
Uneven Coverage
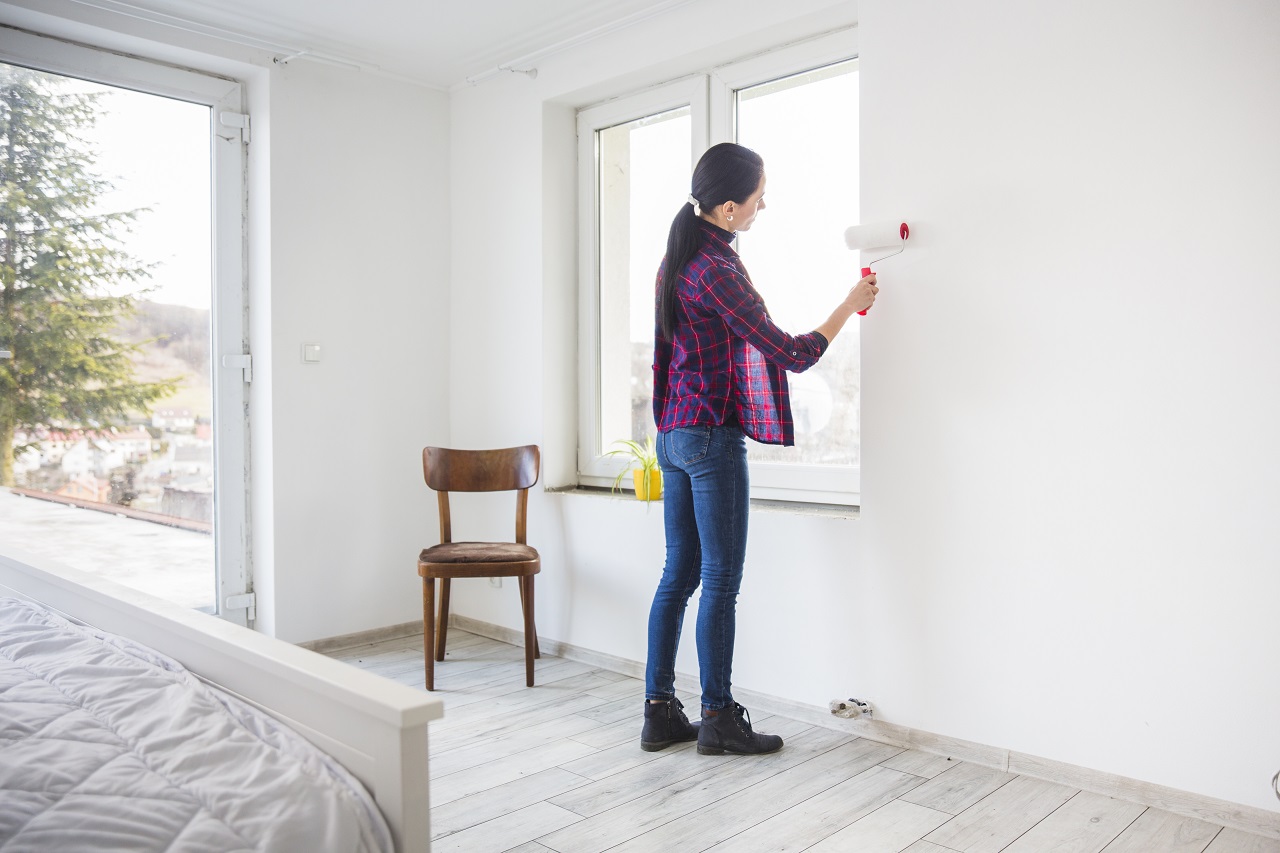
Not hiring a professional painter to paint the walls of your home both has its advantages and disadvantages. Some of the advantages include saving up on what would eventually end up as an easy paint job. Another advantage is that you’ll have greater control of shaping what your wall looks like, while you’re on the task.
On the other hand, there are several disadvantages of not hiring a professional. The most obvious is that your amateur skills might end up with a botched job, like an uneven coating appearance. Instead of the smooth, slick wall paint job you were aiming for, you could end up with something that looks rough and bumpy.
Luckily for you, there are various ways to avoid such situations from happening. One thing to note is that uneven coverage usually forms when the paint dries too quickly before you apply the next segment. It would be to your advantage not to paint on hot days, where the rays of the sun are directly striking the surface you want to paint on. This is to decrease the rate at which the paint dries. Another technique you can employ is to paint your wall in manageable segments, allowing for a more uniform appearance.
Paint Bubbles
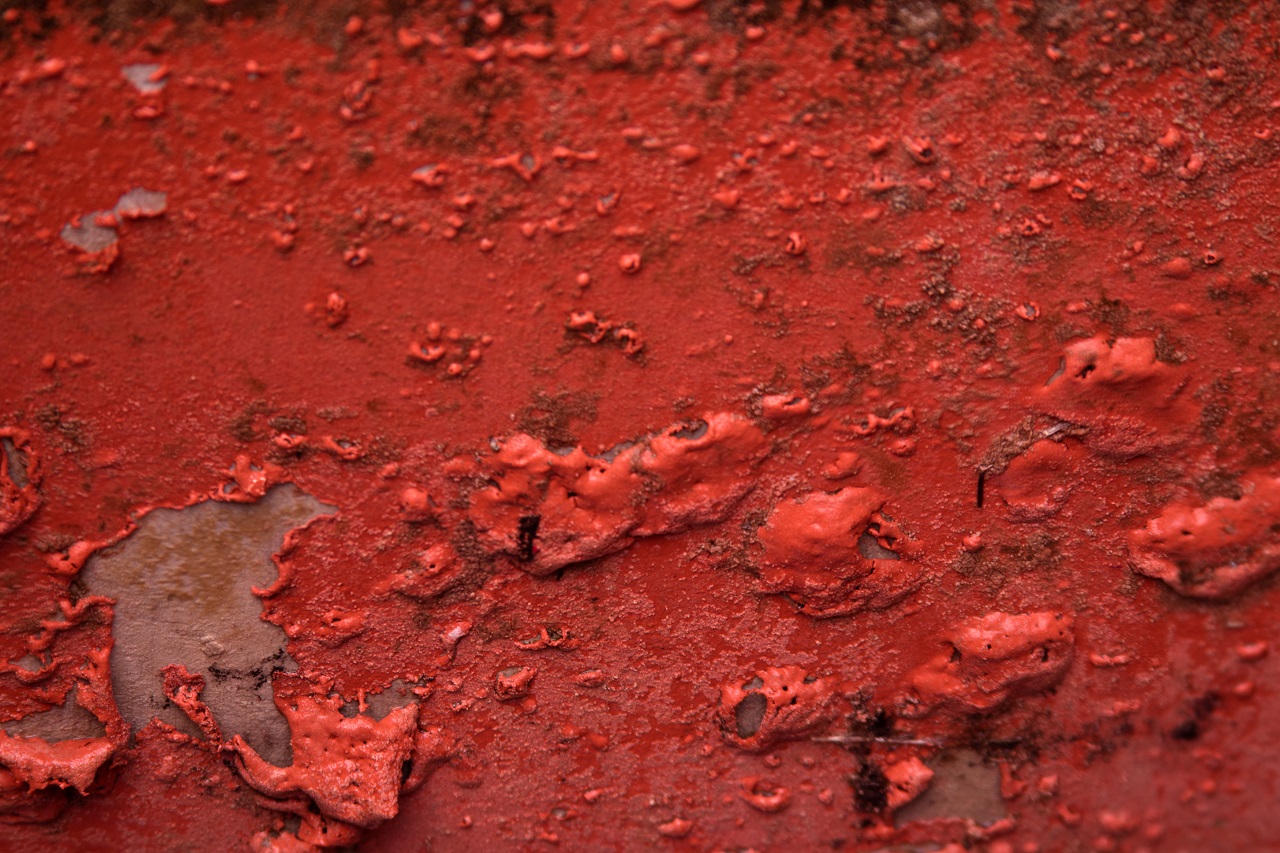
Imagine this: Your kitchen renovations have just been completed. Your modern-looking wooden cupboards perfectly match the granite countertops that you have specifically chosen for the room. The wall paint too – a product of your blood, sweat, and tears – adds a sophisticated flair to the objects around it. However, a few months down the road, you notice that the kitchen’s walls have become marred with little bubbles that seem to spread around as time passes.
These bubbles, also called blisters, are caused by various reasons. You might have incorrectly prepared the painting surface or the wall may have become exposed to moisture due to a leak. Bubble formations also usually occur in glossy-type paints. You wouldn’t normally encounter this problem if you’re using a flat finish. The blisters will eventually lead to your paint chafing off. The only thing to do is to scrape off all the paint, add the primer, and apply a new coating altogether.
Read What is Blistering?
Paint Splatters
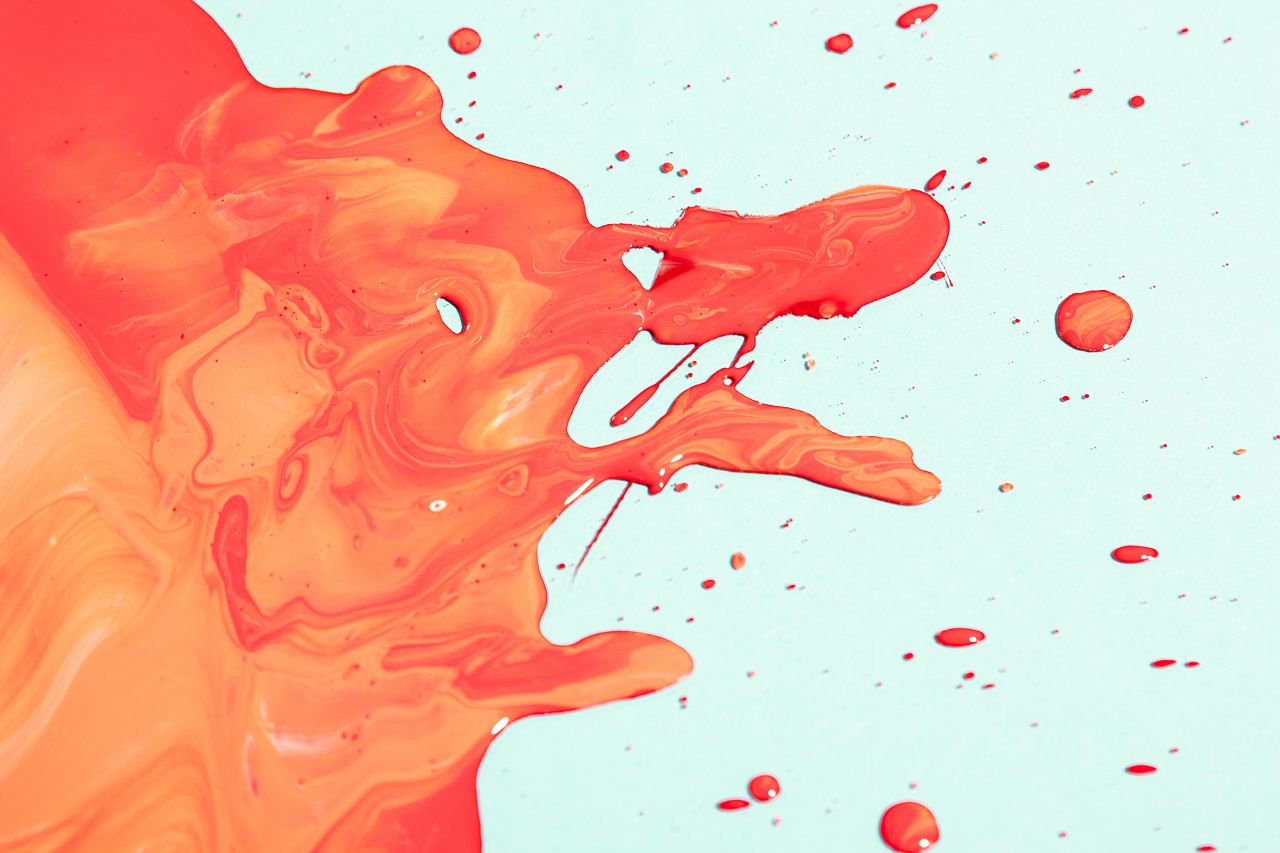
Home improvement is a never-ending task. One day, you might decide to give your garage walls a brighter and fresher appearance. If you’re into Do-It-Yourself activities but fail to do the necessary research, you run the risk of not being able to apply your paint properly.
One common problem you might encounter while painting your own walls is the inevitable paint splatters. This is a common occurrence when you’re using thin paint. To avoid this, make sure your paint bucket is at a reachable distance from the surface you’re painting. This will help you prevent unnecessary spillage on the floor.
Another thing you can do to help minimize instances of paint splatters is to trim the fuzz from your paint roller. It’s also advised that you lightly dip the roller into the paint, then roll on the ramp of a tray or on a piece of scrap plywood or carton to evenly distribute the paint on your roller. After this, you should slowly apply the coating on the wall in an M pattern..
Roller Marks
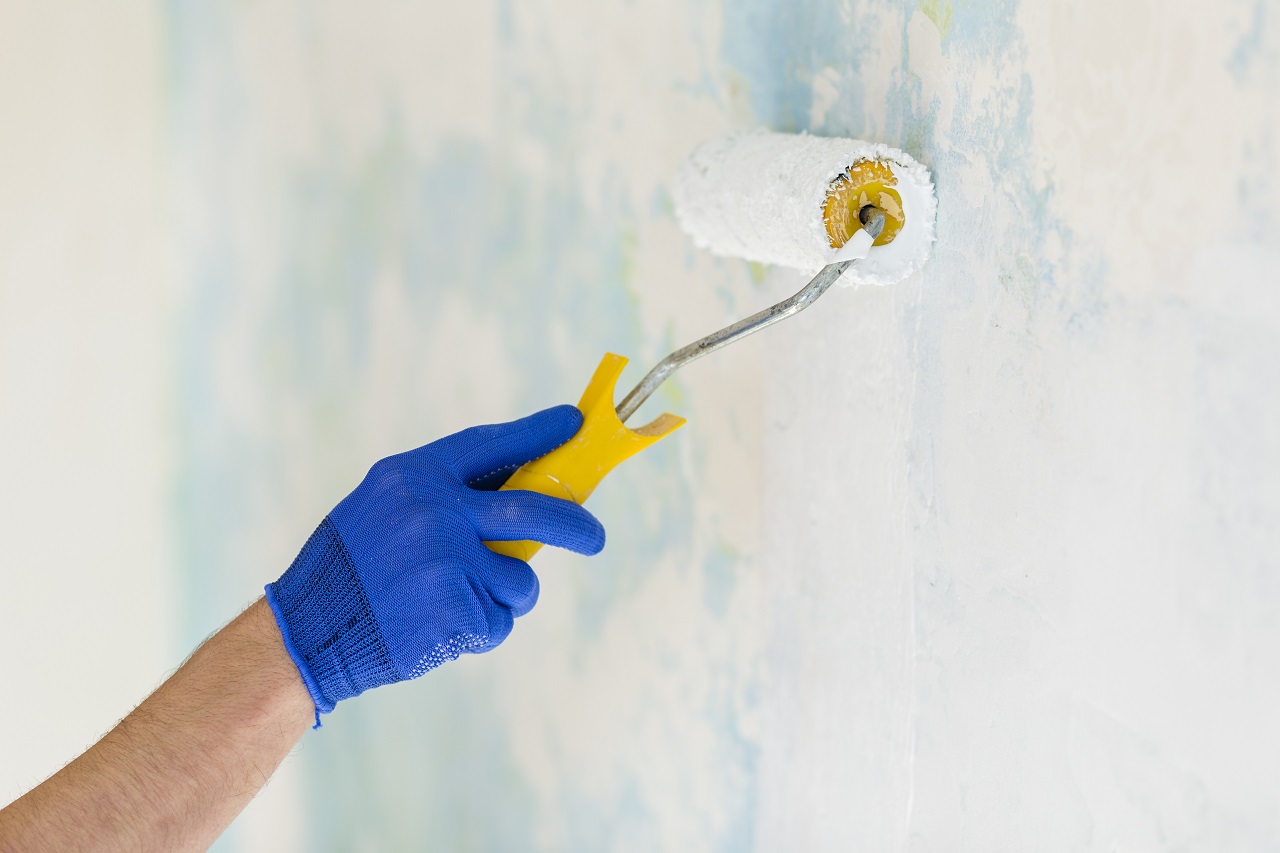
Instances of roller marks occur frequently, especially if you’re an amateur home DIYer. You might notice this when several segments of your wall are darker in shade compared to others. The only way to truly fix this problem is to coat your paint roller more frequently.
If you find yourself laboring to get paint onto the surface of the wall you’re working on, this is a good sign to apply more paint on your roller.
Key Takeaway
If you love engaging in Do-It-Yourself activities frequently, do more research to learn how to fix wall painting mistakes in case you do encounter them. Ultimately, being equipped with the right information on painting tools, paint types, and wall surfaces will help you avoid most of these mistakes. The simple guide above has hopefully provided you with some tips and tricks on preventing or avoiding these common mistakes from happening.


